PlateCycler C1 for Bambu Lab A1: Practical Automation Guide
This article contains affiliate links. We may earn a commission if you buy through them.
You’ve stacked a day’s prints in your slicer, but you can’t stay nearby to swap plates between jobs. PlateCycler C1 aims to let a Bambu Lab A1 advance to the next build plate by itself, so you can stage a batch and focus on other work. The key is confirming whether your exact A1 or A1 Mini fits, how much desk depth you need, and which kit matches your workflow.
Should you automate plate swaps on a Bambu Lab A1?
If your biggest bottleneck is walking back to the printer to move a finished plate, automation can be worth it. Automation makes sense when time is your constraint. PlateCycler is presented as an add‑on for Bambu Lab’s A1 series that cycles build plates after each job, aiming to keep the printer working while you’re away. For A1, the kit is called PlateCycler C1; for A1 Mini, it’s PlateCycler C1M. Visit Chitu Systems to explore the options and check your printer model.
That said, automation introduces real constraints: hardware compatibility, space behind and in front of the printer, and supported build plates. If those fit your workspace and machine, PlateCycler’s approach can be a practical way to get more prints from the A1 you already own without buying a second printer.
What PlateCycler C1 and C1M actually do
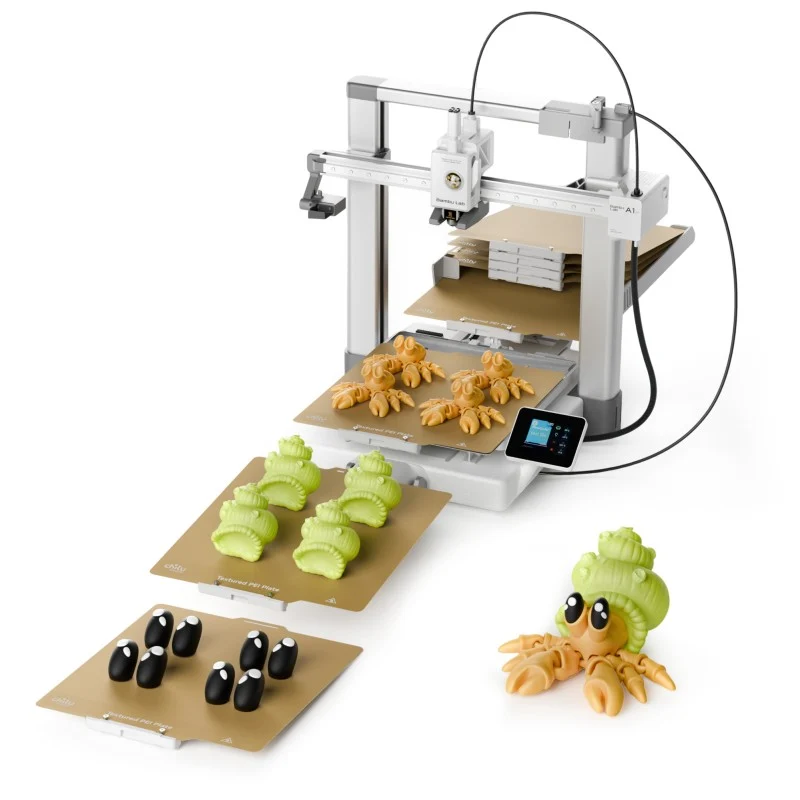
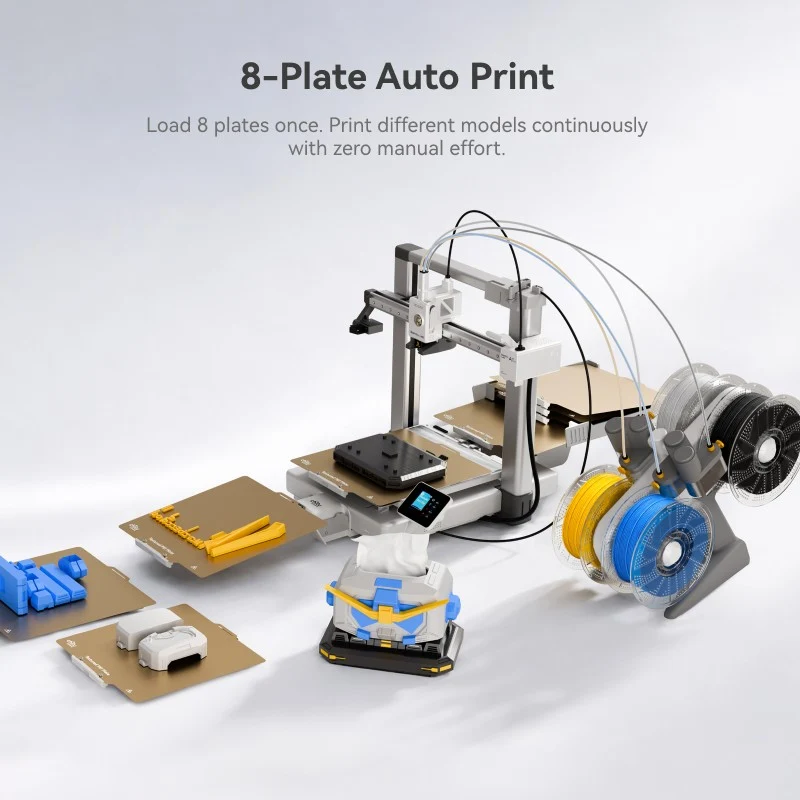
PlateCycler C1 and C1M are mechanical systems that sit at the front and rear of the printer to hold multiple build plates. When a job ends, the completed plate is ejected from the front and the next plate is pulled into position for another print. For A1 owners, that’s PlateCycler C1; for A1 Mini, it’s PlateCycler C1M. The C1 page notes a standard kit with four PEI plates, and an official statement about printing across eight plates, which you can expand with additional plates. Plates advance automatically after each job, so batch throughput increases while hands‑on time drops.
The hardware emphasizes repeatability. The pages highlight injection‑molded components instead of ad‑hoc printed parts, and C1M descriptions call out miniature pulleys and magnetic limiters for consistent plate positioning. If you’re curious about what this means day to day, the practical change is that you load several plates and let the printer continue through your queue. If you need a deeper look at how that aligns with your setup, browse the kits and FAQs at Chitu Systems.
Check compatibility and space before you buy
Before buying, verify your A1 hardware details, measure your desk, and understand which plates the system uses. These checks determine whether automation will help or frustrate your workflow. Measure desk depth before committing and confirm your unit’s rear hardware and heatbed cable type. Also note the difference in build‑plate support between C1 and C1M. No firmware changes required is a benefit here, but space and plate choices still matter.
Confirm A1 hardware details
The C1 listing includes a clear compatibility notice: some Bambu Lab A1 units are not supported. Specifically, if your A1 has silicone bumpers at the rear or a non‑braided heatbed cable, C1 is listed as incompatible. Look behind the printer to confirm these details before you consider a kit. On the plus side, C1 states installation without printer disassembly, firmware changes, or permanent modifications. If you need official references, read the C1 FAQs and compatibility section on Chitu Systems while you check your machine.
Measure your desk and layout
Plan for the physical footprint. The C1 page specifies a table depth requirement of about 22.4 in (57 cm); with the A1 installed, the full setup occupies roughly 42.5 in (108 cm) in length. This matters because the rear rail holds a stack of plates and the front ejector needs unobstructed space for finished plates. If your surface is uneven, printable leveling spacers are mentioned. Measure your desk and consider where finished plates will land to avoid bumping parts during ejection. A quick tape measure check saves headaches later, and you can cross‑check the dimensions on Chitu Systems.
Know your plate options
Know your plate options because they differ by kit. For A1, C1 is designed around dedicated PlateCycler PEI plates; the listing explicitly says third‑party plates are not supported due to dimensional and edge differences that affect reliability. For A1 Mini, C1M is more flexible: you can use third‑party A1 Mini plates if you drill alignment holes and add a printable plate hook from the referenced model page. C1M also supports expanding to ten plates, while the kit includes four. Review these constraints on Chitu Systems and decide whether you want the simplicity of dedicated plates (C1) or the mod‑friendly route (C1M).
Plan your batch printing workflow
Think through your queue. The PlateCycler Web Tool, plus an offline option, converts 3MF files and previews time and filament usage so you can stage multiple jobs across several plates. Use the web or offline tool to stage jobs, then arrange parts per plate with bed adhesion in mind. For multi‑color runs, the C1 page says it’s compatible with AMS Lite; if your AMS Lite sits above the printer, the note about shifting it slightly left with an optional printable riser helps maintain clearance for the rear plate stack.
In practice, your first layer is still king. A consistent first layer and plate prep (cleaning, light texture, and appropriate adhesives for tricky filaments) reduce the chance that a misprint interrupts the sequence. Consider grouping similar models or materials on adjacent plates to simplify nozzle temps and filament swaps. As you refine settings, you can increase batch size, but start with a conservative plate count to validate reliable ejection and loading. For tooling and test files, the conversion app and FAQs live at Chitu Systems.
Choose between PlateCycler C1 and C1M
Choosing between C1 and C1M comes down to your printer, plate strategy, and desired capacity. Pick the kit made for your exact printer and decide whether dedicated plates or mod‑ready third‑party plates fit your long‑term plan. You can compare details and FAQs on Chitu Systems before you commit.
Throughput and plate count
Throughput and plate count differ. The C1 page lists a standard kit with four plates and includes a statement about printing across eight plates. C1M for A1 Mini ships with four plates and can expand to ten, which is useful if you routinely run small parts or multi‑plate sets overnight. If you want plug‑and‑play plates with tested geometry, C1’s dedicated plates fit that bill; if you prefer to adapt plates you already own for A1 Mini, C1M allows third‑party plates with simple modifications.
Materials and mechanics
Materials and mechanics aim at consistency. The pages highlight injection‑molded parts for rigidity and repeatable fits. C1M descriptions call out miniature pulleys for smoother plate movement and magnetic limiters to keep plates aligned on the bed. There’s also language about durability‑focused material choices and long‑term validation, all of which point to a design that favors mechanical reliability over ad‑hoc assemblies. The practical takeaway: once installed and leveled, the system should keep plate motion predictable across your queue.
When manual swaps or a second printer make more sense
Automation isn’t always the best move. If your batches are occasional or your desk is shallow, manual swaps avoid the footprint and compatibility constraints and cost you only a few minutes per job. A second printer adds redundancy and parallel capacity, but it also demands more space, power, and attention. C1’s dedicated plates reduce variables; C1M’s third‑party flexibility invites tinkering. The right answer depends on how often you batch and whether you can free up the depth behind and in front of your A1. Space limits can outweigh automation gains for some setups.
If you run resin, Hoopat speeds film changes
If you also run resin, the Hoopat Quick Release Resin Vat is a separate upgrade aimed at speeding routine maintenance. The listings describe replacing PFA or ACF release film in about 30 seconds using a screw‑free quick‑release design, an integrated pouring spout for cleaner resin transfers, and even pressure for consistent film tension. Variants are matched to specific ELEGOO Saturn and Anycubic Photon Mono models, with an X4H version that supports Saturn 4 Ultra 16K heating contacts. Review model compatibility and film options (PFA vs ACF) at Chitu Systems. Match the Hoopat model to your exact printer to avoid leaks or fit issues.
How to buy and set up with fewer surprises
Keep setup straightforward. Use the PlateCycler Web Tool (or the offline app) to convert 3MF files and download test jobs before your first batch. If questions come up, the Support Center and guides are the fastest way to troubleshoot; if that doesn’t resolve it, email support for help. The store notes shipping from multiple regional warehouses with free shipping available on certain orders and destinations, plus invoice and returns support via the listed emails. Confirm region, model, and desk depth before checkout so the kit you receive matches your machine and workspace. Start your research at Chitu Systems and prepare a short checklist: printer model, hardware compatibility, table depth, and planned plate count.
Is PlateCycler right for your A1?
If you batch prints often and your space and A1 hardware align with the listed requirements, PlateCycler can be a sensible way to increase output without buying another machine. The site’s quoted reviewers describe practical continuous runs on the A1 Mini—for example, “I successfully loaded 12 build plates on the A1 Mini,” which indicates how high‑capacity setups can look, though your results will depend on your leveling and plate prep. If your runs are occasional or your desk is tight, manual swaps may be simpler. Buy for batches, not for one‑offs: choose C1 for A1 with dedicated plates, or C1M for A1 Mini if you want expansion and third‑party plate flexibility.